


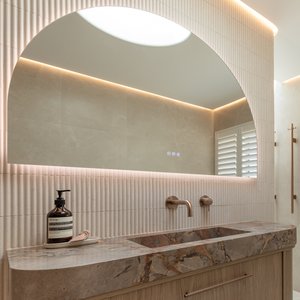
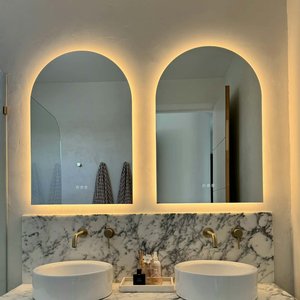
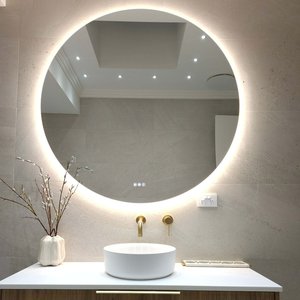
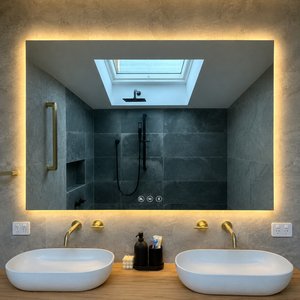



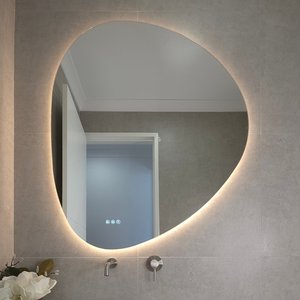
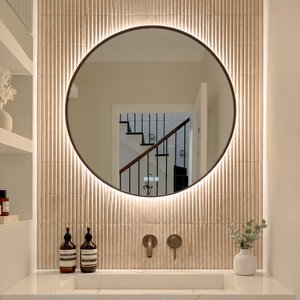




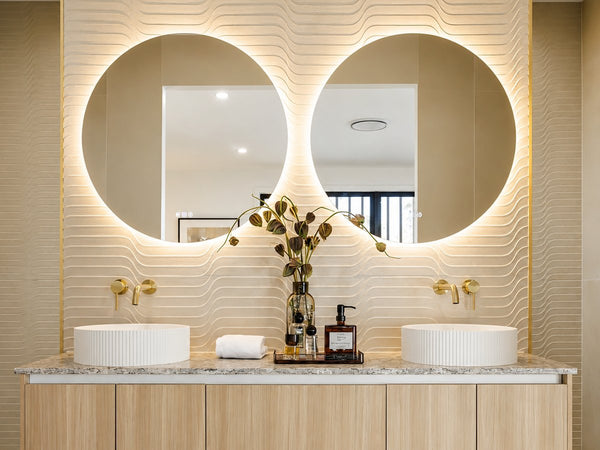
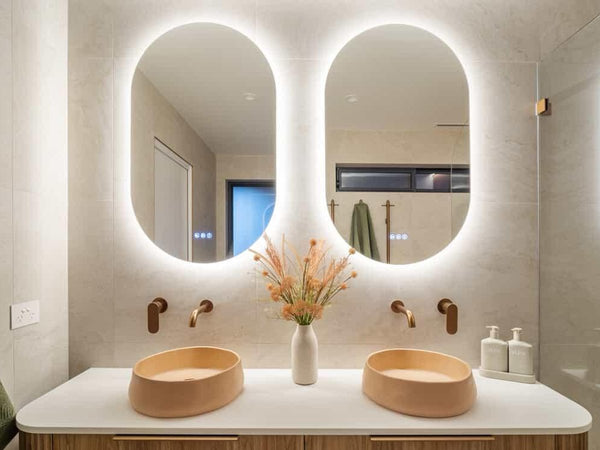
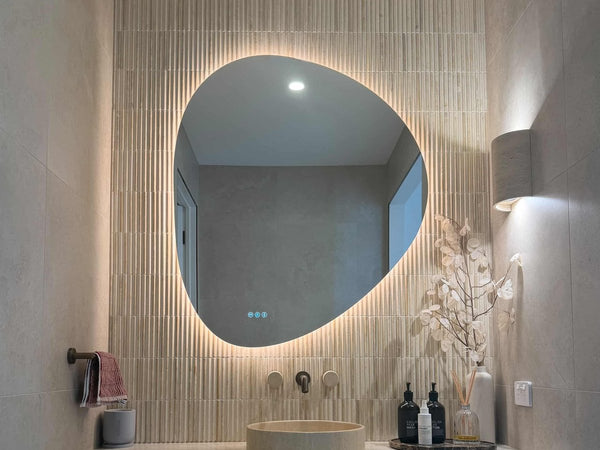
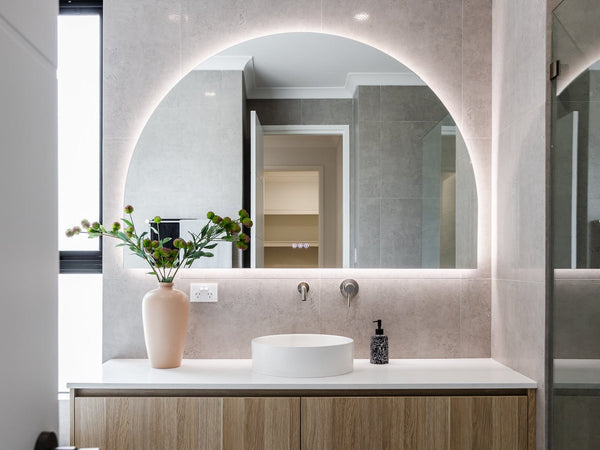
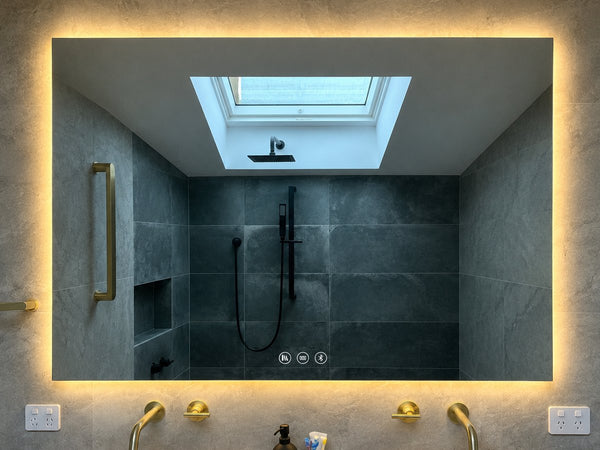
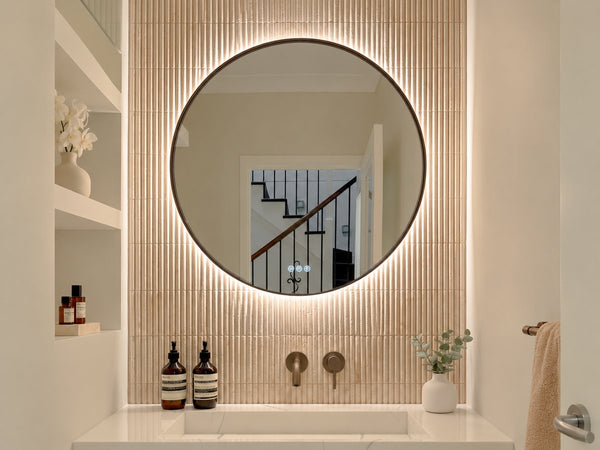

A wall mixer and spout gives you a clear benchtop and works with basins that have no tap hole. The catch is that the decision is locked in early: the valve body goes into the wall frame before the lining and tiles, and its depth, height and distance from the basin are set then. A basin mixer is the opposite. It goes on at the end, sits where the tap hole is, and can be swapped in an afternoon.
This guide covers what most comparisons skip: the rough-in depth behind the finished wall, how high the spout needs to sit over the basin rim, how far it reaches, and what living with each option looks like when something needs servicing. Every product figure comes from our own product drawings and the specifications listed on our product pages.
13 min read · Last reviewed 13 October 2026 · Written by Ella James
Why Trust InVogue Mirrors & Bathware? InVogue is a mirror and bathware brand trusted in over 20,000 homes, specialising in LED bathroom mirrors, mirror cabinets and tapware in both wall-mounted and basin-mounted styles. The guidance in this article reflects genuine planning and usability considerations, not a preference for either option.
Quick Answer
- Choose a basin mixer if the wall is already tiled, the basin has a tap hole, or you want the simplest job to service later. Our Vienna basin mixers need a Ø35–38 mm hole.
- Choose a wall mixer and spout if the wall will be open anyway, the basin has no tap hole, or you want nothing on the benchtop. Decide before the wall is lined.
- Depth: the Milano wall valve sits 45–70 mm behind the finished tile face; the Cannes shower diverter mixer 55–85 mm. Your plumber needs your tile choice to set it.
- Height: leave at least 50 mm between the basin rim and the spout outlet. On the Milano, the outlet sits 60 mm below the centre of its wall plate.
- Reach: the Milano spout projects 192 mm from the finished wall, so the basin's waste should sit roughly that far out.
In this guide
At a Glance: Wall Mixer vs Basin Mixer
The real difference is timing. Everything else follows from where the valve body lives: inside the wall, or on top of the bench.
Figures from our factory drawings and product specifications. Swipe sideways on a phone.
| Factor | Wall mixer + spout | Basin mixer |
|---|---|---|
| Where the valve sits | In the wall cavity, behind the tiles | On the benchtop or basin, connections under the vanity |
| When it's decided | Before the wall is lined and tiled | Any time before the plumber's final fit-off |
| What the basin needs | No tap hole | A tap hole (Ø35–38 mm for our Vienna range) in the basin or bench |
| Spout height over the rim | Set by your plumber to suit the basin | Fixed by the model: 75 mm (Vienna Short) or 200 mm (Vienna Tall) under the spout |
| Spout reach | 192 mm from the finished wall (Milano) | 140 mm (Vienna Short) or 180 mm (Vienna Tall) from the tap hole |
| Cleaning | Nothing on the benchtop to clean around | One base to wipe around |
| Swapping it later | Same body across all six finishes; changing models usually means opening the wall | Unscrew and replace at the bench |
| Our models | Milano Wall Spout Plus Wall Mixer | Vienna Short, Vienna Tall |

Height: Where the Spout Sits Over the Basin
Set the spout outlet at least 50 mm above the basin rim. That's the rule our basin fit tool uses for every tap, so hands fit under the water without knocking the spout. It isn't a standard. We haven't found a code that sets a wall spout height, and many plumbers go a little higher; retailer guides commonly quote 60–100 mm. The higher the outlet, the more the water splashes when it hits the bowl.
The number people miss is the drop inside the spout. On the Milano wall set, the outlet sits 60 mm below the centre of its wall plate. So the plate centres need to be at least 110 mm above the rim (50 mm gap plus the 60 mm drop). Work it out from the top of the basin you've actually chosen, not from the benchtop. A 150 mm vessel bowl and an under-counter basin need very different heights.

Designer Insight: tape the basin's outline and rim height on the wall before the plumber arrives, and mark the plate centres on it. It takes five minutes and it's the single best way to stop a spout landing 40 mm too low because the basin changed after rough-in.
Reach: Spout Length vs Basin Position
The water should fall near the waste, not on the back slope of the bowl. With a wall spout, the basin moves to suit the spout, so aim for the waste centre to sit roughly 192 mm out from the finished tile face on a Milano. Push the basin further forward and water hits the back of the bowl; push it back and it lands too close to the front edge, where it splashes out.
Basin mixers work the other way round. Reach is measured from the centre of the tap hole: 140 mm on the Vienna Short and 180 mm on the Vienna Tall. The tap hole position and the basin are chosen together, which is why a basin mixer is the forgiving option when you're not sure of the final basin.
Plan the waste at the same time. A pop-up waste such as the Lisbon has a Ø66 mm cap and suits basins without an overflow; our basin waste guide covers overflow and bottle-trap choices.
Rough-In Depth and Tile Thickness: Getting the Plates to Sit Flush
Rough-in depth is measured from the finished wall, which means the front face of the tile, not the stud or the wall sheet. Each wall valve has a window it has to land in. If the body sits too deep, there isn't enough thread left for the cover plate and lever. Too shallow and the plate stands proud of the tiles.
From the factory installation drawings and the specifications on each product page, read 13 October 2026.
| Model | Valve depth behind finished wall | Wall opening (factory drawing) | Wall plates | Ports | Projection / centres | Lever | WELS | Working pressure |
|---|---|---|---|---|---|---|---|---|
| Milano Wall Spout Plus Wall Mixer (basin) | 45–70 mm | See the drawing in the box | Ø65 mm | 2 × G½ | 192 mm spout · 120 mm centres | 115 mm | 5 Star · 6.0 L/min | 0.5–8 bar (50–800 kPa) |
| Milano Wall Mixer (shower or bath) | 45–70 mm | 80 × 80 mm | Ø65 mm | 3 × G½ | n/a | 115 mm | n/a | 0.5–8 bar (50–800 kPa) |
| Cannes Shower Diverter and Mixer | 55–85 mm | See the drawing in the box | Mixer Ø65 mm · diverter Ø40 mm | 4 × G½ | n/a | 115 mm | n/a | 0.5–8 bar (50–800 kPa) |

So what does that mean for tile? Everything in front of the frame adds up: wall sheet, waterproofing, adhesive bed and the tile itself. A thick porcelain or stone tile on a solid adhesive bed can push the finished face well forward of where a plumber would assume for a thin ceramic. We don't publish layer thicknesses because they vary with the product and the wall. Give your plumber the exact tile and wall sheet before rough-in and let them add it up.
This is the problem we see most in forums: the tiles go on, and the cover plate won't reach because nobody allowed for the extra tile thickness. The fix after tiling is rarely neat. Choose the tile first, then rough in.
Installation: all our tapware must be installed by an authorised plumber in line with the New Zealand Building Code. Our installation guides say to fully test the valve before tiling. This guide explains what to plan and ask for; it isn't installation instructions.
What Happens When It Needs Servicing
A basin mixer is the easier one to live with. Its connections sit under the vanity, where a plumber can reach them by opening the cupboard. If the tap fails, it comes off the bench and a new one goes on.
A wall mixer keeps its working parts behind the plate. On most wall mixers the cartridge is reached from the front once the lever and plate come off, so a dripping spout doesn't usually mean touching the tiles. A leak at a pipe joint inside the wall is different. Forum threads on wall mixers keep coming back to the same story: a slow leak behind the tiles and a section of wall that has to come out. That's why the pressure test before tiling matters so much.
Two facts help here. The same in-wall body is used across all six finishes for a given model, so a Milano body suits a Milano trim in any of our finishes. And our tapware warranty covers cartridges, valves and aerators for 7 years and the tap body for 15 years. It's a parts warranty: we send the replacement part, and installation labour isn't included. Details are on our warranty page.

Cost and Timing
A wall set usually costs more to install. The valve body is bought early and fitted at rough-in, pressure tested, and finished with the plate, lever and spout after tiling. For a basin mixer the plumber only leaves the supply points at rough-in, and the tap goes on at fit-off. Prices vary too much between trades and cities to quote here, so ask for both options on the same quote.
Timing is the bigger issue. A wall mixer has to be on site, with its drawing, before the wall is lined. If your tapware arrives after the tiler, the decision has already been made for you. Our order of trades guide shows where each choice falls, and the bathroom heights and rough-in guide puts every fixture on one drawing.
Which Suits Your Basin
Start with the basin, then pick the tap. Measure how far the rim sits above the benchtop and check that against the clearance under the spout.
| Basin type | Wall or basin mixer | Why |
|---|---|---|
| Vessel (sits on the bench) | Wall set, or Vienna Tall | The Vienna Tall has 200 mm under the spout, enough for a bowl up to 150 mm tall with our 50 mm gap. Taller than that, a wall spout is the safe choice. |
| Semi-recessed | Either | Check the rim height above the bench. If it's 25 mm or less, the Vienna Short's 75 mm clearance works. |
| Under-counter or inset | Vienna Short, or a wall set | The rim is at or below the bench, so a short mixer fits. A wall set is a style choice here, not a necessity. |
| Wall-hung with a tap hole | Basin mixer | The tap hole is already there. Leaving it empty looks unfinished. |
| Wall-hung with no tap hole | Wall set | There's nowhere to mount a basin mixer. |
Not sure? Our which tap fits my basin tool checks the clearance under every spout against your basin's height.

Our Picks
Shown in Antique Brass. Every model also comes in Brushed Brass, Brushed Nickel, Brushed Gunmetal, Matte Black and Chrome.
| Product | Best for | Key numbers |
|---|---|---|
| Milano Wall Spout Plus Wall Mixer | Vessel and no-tap-hole basins in a full renovation | 192 mm spout · 120 mm centres · valve 45–70 mm |
| Vienna Tall Basin Mixer | Vessel basins up to 150 mm tall, no wall work | 305 mm high · 180 mm reach · 200 mm under the spout |
| Vienna Short Basin Mixer | Under-counter, inset and low semi-recessed basins | 175 mm high · 140 mm reach · 75 mm under the spout |
| Lisbon Pop Up Basin Waste | Basins without an overflow, matching any of the above | Ø45 mm hole · Ø66 mm cap · 32 mm outlet |
Browse every option in bathroom mixers and spouts, or the full tapware range. If you're torn between finishes, our tapware finishes guide shows each one, and the tapware care guide covers keeping them looking right.
Common Mistakes
- Roughing in before the tile is chosen. The plumber guesses the finished wall, the tile turns out thicker, and the plate won't sit flush.
- Measuring height from the benchtop. The gap that matters is from the basin rim to the outlet. A vessel bowl adds its full height.
- Forgetting the drop inside the spout. The Milano outlet is 60 mm below its plate centre. Set the plates for the outlet, not the other way round.
- Changing the basin after rough-in. A different bowl changes both the height and where the waste sits relative to the 192 mm reach.
- Tiling before the pressure test. Our installation guides say test first. A leak found after tiling is the expensive kind.
- Buying a basin mixer for a tall vessel. A short mixer with 75 mm clearance can't clear a 150 mm bowl. Check the clearance figure, not the photo.
Expert Designer Recommendations
- Renovating with the walls open: a wall set is worth it, especially over a vessel basin. Book the tile choice before the plumber.
- Replacing a vanity in a tiled room: stay with a basin mixer. Opening a finished wall for a look is rarely worth the risk.
- Family bathroom with heavy use: a basin mixer is quicker to service, and there's nothing in the wall that can leak behind the tiles.
- Powder room: a wall set over a small vessel is one of the best places for it. There's no shower plumbing competing for the same wall.
Frequently Asked Questions
How high should a wall mixer be above the basin?
Set the spout outlet at least 50 mm above the basin rim; that's our fit rule, not a Building Code requirement. On the Milano wall set the outlet sits 60 mm below the plate centre, so the plates go at least 110 mm above the rim. Measure from the basin you've actually bought.
What depth should a wall mixer be set at?
It depends on the model. The Milano wall valve sits 45–70 mm behind the finished tile face, and the Cannes shower diverter mixer 55–85 mm. Your plumber sets it once they know the wall sheet, waterproofing and tile, because together those decide where the finished face lands.
Why won't my tap cover plate fit after tiling?
Usually the valve was set for a thinner finished wall than the one that went on. Thick tiles and adhesive push the face forward until there isn't enough thread for the plate. It needs a plumber to assess. Prevent it by choosing tiles before rough-in and giving your plumber the exact product.
Do wall mixers leak more than basin mixers?
Not inherently, but a leak costs more to fix. A drip at the spout is usually a cartridge, reached from the front. A leaking joint inside the wall can mean removing tiles. That's why our installation guides say to fully pressure test the valve before tiling.
Wall taps or bench taps for a vessel basin?
Either can work. A wall spout suits any bowl height because the plumber sets the outlet above the rim. A bench option needs enough clearance: the Vienna Tall has 200 mm under the spout, enough for a bowl up to 150 mm tall with our 50 mm gap.
Can I change a wall mixer to a different finish later?
Within the same model, the body in the wall isn't the obstacle: each of our wall mixers uses the same in-wall body across all six finishes. Ask us about the parts you'd need before you plan it. Changing to a different model or brand usually means a different body, and that means opening the wall. Our guide to changing tapware finish without retiling goes through every fitting.
Can I replace a basin mixer with a wall mixer without retiling?
Not cleanly. A wall mixer needs a valve body and pipework inside the wall behind the basin, so the tiles in that area have to come off. If the wall isn't being opened anyway, a taller or better-placed basin mixer is usually the smarter upgrade.
Designer's Cheat Sheet
Designer's Cheat Sheet
- ✔ Wall already tiled, or basin has a tap hole → basin mixer
- ✔ Walls open, vessel or no-tap-hole basin → wall set, decided before lining
- ✔ Milano valve: 45–70 mm behind the tile face · Cannes: 55–85 mm
- ✔ Spout outlet ≥ 50 mm above the rim · Milano plates ≥ 110 mm above the rim
- ✔ Milano reach 192 mm → waste roughly 192 mm from the tile face
- ✔ Vessel up to 150 mm tall → Vienna Tall works · lower or under-counter → Vienna Short
- ✔ Tile chosen → rough-in → pressure test → tile → fit-off
Conclusion
If the wall is open and the basin has no tap hole, a wall set gives the cleaner result, as long as the tile is chosen first and the three numbers (depth, height, reach) are on the plumber's sheet before rough-in. If the room is already tiled, a well-chosen basin mixer is the better job and the easier one to live with. The mistakes in both cases come from deciding too late, not from the tap itself.
Where To Next?
- Start here: the Bathroom Tapware Buying Guide
- Plan the job: Bathroom Heights and Rough-In Measurements and Bathroom Renovation Order of Trades
- Under the basin: How to Choose a Basin Waste
- Shop: Bathroom Mixers & Spouts and the full Tapware range
Need help? Ask us with a photo. Send us a photo of your basin, wall or plans through our contact page, or email info@invoguemirrors.co.nz, and we'll tell you what fits.

